The Ultimate Concealer Guide: Tips for a Flawless and Long-Lasting Look
A terrific example of such a cosmetic product is concealer, high contrast not with whether you are making up one beautiful hankering splendorizing or assisting in creating aparents "ness." Even if you tend for lighter coverage in your base I find that the difference is tremendous and Good, You should never skip this step. Most of us have awfully irregular skin color topsides while still youngish. If you're only using toner or anything else that doesn't offer as much coverage, there'll immediately be some parts of us which look unusual at best—particularly around nose or mouth area where hair follicles are thickening (which makes face wrinkled).
It is the mainstay of some people's makeup routine. When that éclat appears on all our acne sores gone except one (an obliging friend gently suggests "fragrance for the ears, please"), we're off to our daily social business without unnecessary jitters or recent memories wiped from mind At times like these we ask ourselves whether a girl should even bother with sleep for 28 or 29 hours during Intensives Over.
How do you know whether the right or wrong technique is applied for concealer? Many TikTokers are currently following a strategy known as “just in and out corner” on spot placement of the product Their eye, before blending in. Still this might not be the best technique A: especially when it comes to long-lasting makeup.
"Go ahead and use your concealer over the entire area of the under-eye circle," says Lisa Harper, who is a makeup artist and also the founder of Harper Beauty. "When you restrict concealer just to inside and outside corners on your eyes, you're not kind of erasing the yellow circles that we all have beneath our orbs. And that's the very reason we use concealer." It is particularly important to get this kind of thorough coverage to make the makeup ready for an event. "What's important is that all aspects of your makeup look perfect and it looks beautiful in every context: in photos, on video and in person," Harper notes.
Best Concealer Application Places
Whether you've just had the best sleep of your life or the worst, this product should still be applied to the under-eye area every time. “The entire under-eye area should get concealer,” Harper recommends. Send the concealer to the outer corner of your inner eye, then close along as closely to your lash line as possible. “When you’re searching for the best possible product to purchase, my advice is to try using an under-eye concealer 2 shades lighter than what your foundation is, ” Harper suggests.
However, if you want to conceal any redness or spots on your face that would be visible without makeup, then you'll need a different shade of concealer. “Test the shade on your cheek and choose the one that disappears into your cheek when you test it,” Harper says. And any discoloration or sunspots that you want to hide, she suggests using a neutralizer first before reaching for your concealer to color match. “If you have blue undertones, you're looking for pink-based neutralizers and if you have yellow undertones then a peach-based shade will work best for all your discoloration,” she advises.
How to Choose Your Concealer
When deciding on concealers, you might find the number of products available simply overwhelming. Harper suggests going with a cream-based formula since it's typically much easier to control and blend. “Plus it's buildable and you can keep adding more coverage throughout the day as needed.” You may also want to think about purchasing a pencil concealer. “What's great about using a pencil concealer is that it's perfect for spot correction wherever you need it; it's not messy at all,” Harper says. “Just go in with the pencil wherever it's needed and make sure to blend carefully.”
How to Apply Concealer
Harper has a seven-pointer tutorial on how to apply concealer. “This is going to be very different to the other instructions which I give. Not one of those ones will even concern itself with how to put on concealer in a way that looks natural and unobtrusive.
Step One:
Slightly HydrateStart with an eye cream under your eyes to hydrate the area is under-eye that we have all wrinkles at some point in our lives anyway. This will make sure your concealer lasts and prevent it from looking "cakey".
Step Two:
Target Dark SpotsUse a neutralizer pencil on the dark or red area under your eyes. Blend with a finger or a detail makeup brush.
Step Three:
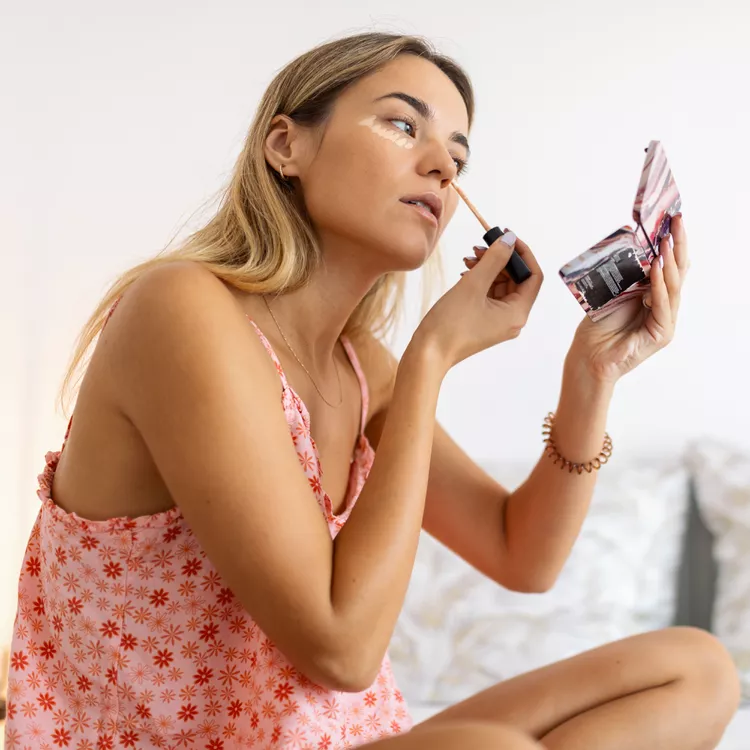
Add Some ConcealerAdd the concealer on top of the neutralizer. Blend with fingers or brush.
Step Four:
Do Other Makeup (except for your lip gloss or lipstick)
Step Five:
Evaluate EverythingYou must check all areas of your face (especially under the eyes) to make sure everything blends well and no creasing occurs. Buff out any cakey areas as needed or bits of concealer that have settled into your creases.
Step Six:
PowderTo set makeup, lightly dust with a finely-milled face powder. Use the backside of your eye-blending brush to apply the powder under your eye. Avoid using a heavy powder, because it can make you look cakey. Please Do not syndicate a new beginning to be placed right below.
Step Seven:
Final TouchesFinish off with your lip color and shimmer. Here, she breaks down the correct way to apply concealer, giving bounds of inside tips and tricks on what type of technique is best for a photo-worthy look.