How to Do Your Own Wedding Makeup and Make It Look Professional
Tempted to DIY your makeup on the big day? With the proper tools, prep and guidance, you can absolutely pull off a finished, photo-worthy look without having to bring in a pro.
“When you do your own makeup, you don’t have to worry about how you’re going to look,” makeup artist Elena Hart says. “It eliminates the possibility of disappointment, and you’re going to save time and money.” By cutting out a pro, you won’t have to synchronize with another vendor, schedule a makeup trial or account for surcharges.
With that said, if you’re at a loss where to start or fancy yourself novices in the realm of long-wear or camera-ready makeup, DIY can be daunting. Even if you’ve perfected your daily routine, you can rest assured that there’s still a learning curve to longwear makeup that lasts through hours of celebration — and photographs beautifully.
How your makeup looks is affected by lighting, the photographic style and, yes, the weather. “Not all makeup translates 100 percent on camera,” says makeup artist Nina Vale. “I generally advise dialing it a bit up so your features still pop in photos.”
To guide you through the process like a pro, I got a set of makeup artists to share their tips and a step-by-step guide for doing your own wedding makeup perfectly.

Should I Do My Own Wedding Makeup?
It is up to you and how comfortable you feel. “If you are not a makeup person I’d recommend doing it in the hands of a professional,” says Vale. “Wedding makeup has to be on for a really long time without touch-ups until late that night.
But if you’re confident in your abilities and eager to do some prep work, you can’ve totally make it work DIY. Just a reminder: long-wear makeup requires more than your everyday routine. “Layering, blending and setting are pivotal to ensure that everything stays in place.
Things to Think About Before DIY Landing Pages
Time Commitment
Long-lasting makeup is not just something that happens in a day — the week before an event is just as important as the day of. You won’t just want to research products, you’ll want to practice your look and perhaps even consult some professionals for recommendations.
Skill Level
Even just a “natural” look is all about the delicate layering and blending. “It’s not a matter of wearing less makeup,” Vale explains. It’s the art of creating the illusion of minimalism through skillful composition.”
Product Preferences
Decide if you want a soft matte or dewy finish. “A dewy look is very in, but it makes the makeup easily transferable, especially if it’s not set properly,” says Hart. If you tend to get oily or sweaty, the matte base route with strategic highlighter will give you the same effect.
Ask Yourself These Questions:
- Will I be OK with putting on make-up on the daily?
- What tools and products do I need — and do I know how to use them?
- So, will I have the time on the actual day to do my own makeup without turning into a nervous wreck?
- Am I able to spend time before the event practicing and perfecting how I want to look?
A full guide on how to prepare for DIY Wedding Makeup
Know Your Vision
For inspiration, consider celebrities, red carpet moments or the pages of pro makeup artists’ social media. Go for styles that work with your features and stop following fads. “What looks good on someone else may not work for your face,” Hart says.
“The key is to stay within the color range that works for your undertones, and sample combinations ahead of time. Mix foundations, or ask a pro to help you match your skin tone.
Use Trusted Products
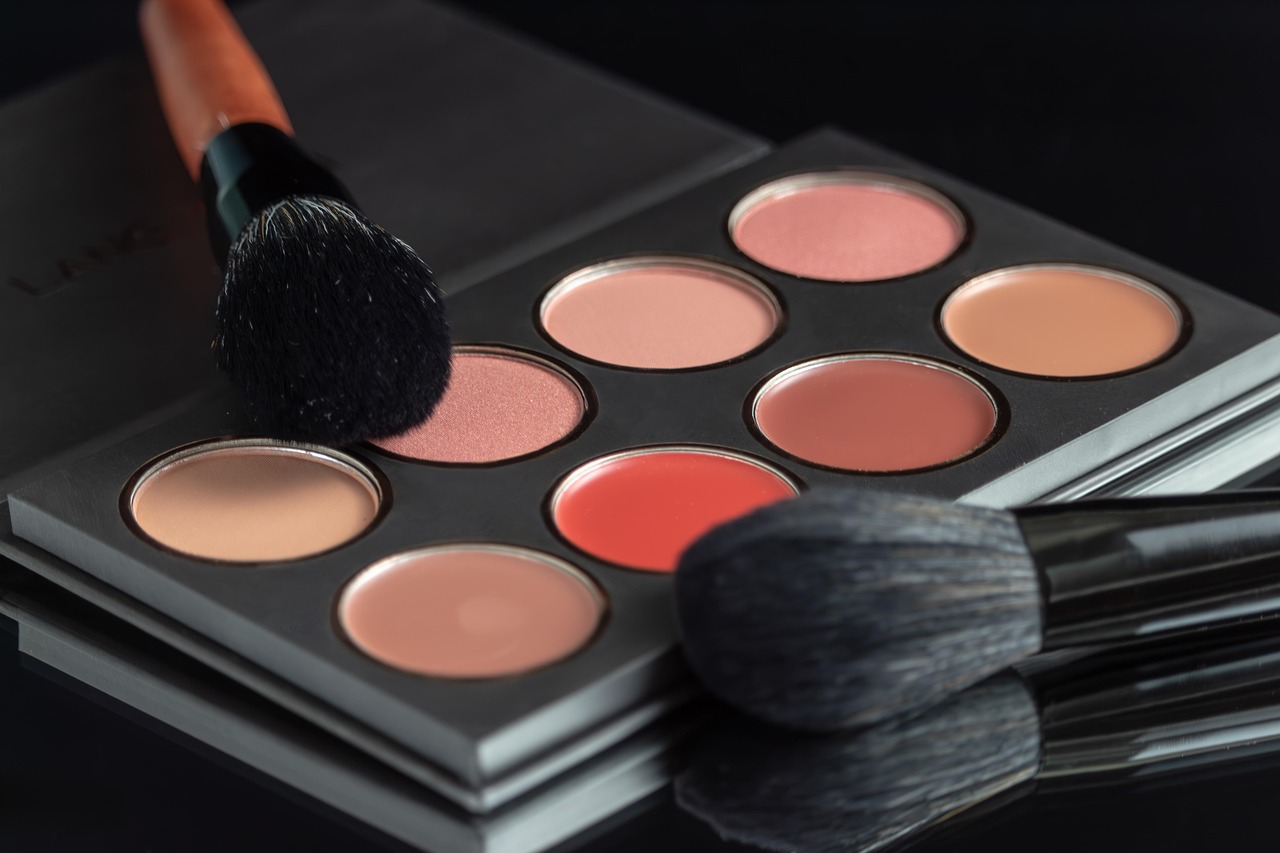
The product should be one you have already tried. Testing out a new foundation or primer mere days before your wedding could cause breakouts or irritation. “Spend your money on good brushes instead,” Hart says. “You can make a world of difference in how everything marries together.”
Must-Have Products:
- Primer
- Foundation
- Concealer
- Blush
- Bronzer
- Highlighter
- Setting powder
- Eyeshadow
- Mascara
- Eyeliner
- Lipstick or gloss
- Lip liner
- False lashes and glue
- Setting spray
- Brushes and sponges
The same goes for all of your makeup: sanitize and store.
Prep Your Skin
Great makeup begins with good skin. “Makeup will only look as good as the skin it’s on,” Vale adds. Weeks before, create a skincare routine that incorporates exfoliation, hydration, and sun protection.
Do not sunburn or tan too close to your day — changes in your skin color can make it difficult to match foundation and your skin can also flake or get dry.
Practice Makes Perfect
Rowan Pike, a celebrity makeup artist, suggests doing multiple full looks. “Try wearing it through a day to see how it wears — did it disappear, crease or become oily-looking? “Did you love the way you looked in photos?”
These practice rounds give you the opportunity to tinker with techniques and products until you find the most flattering and long-lasting version.
DIY Wedding Makeup Tutorial: Step by Step
Step 1: Prime Your Skin
Use a lightweight, hydrating moisturizer and an eye cream and prep your face. Then put on a primer to help your foundation stay put and overall texture.
Step 2: Apply Base Products
Apply a long-wear foundation that is your perfect undertone. Conceal under eyes and any blemishes. Then apply layer upon layer of bronzer and blush for shape and warmth.
Step 3: Blend Thoroughly
Buff all lines of product with the brush or sponge for a professionally smooth, seamless look.
Step 4: Set with Powder
Use setting powder to set your base and minimize any shine. Target the T-zone and under the eyes.
Step 5: Define Your Eyes
Do your favorite eyeshadow look, with an eyeliner and waterproof mascara. If you are using false lashes, practice wearing them. + Fill in brows last to define and finish brows.
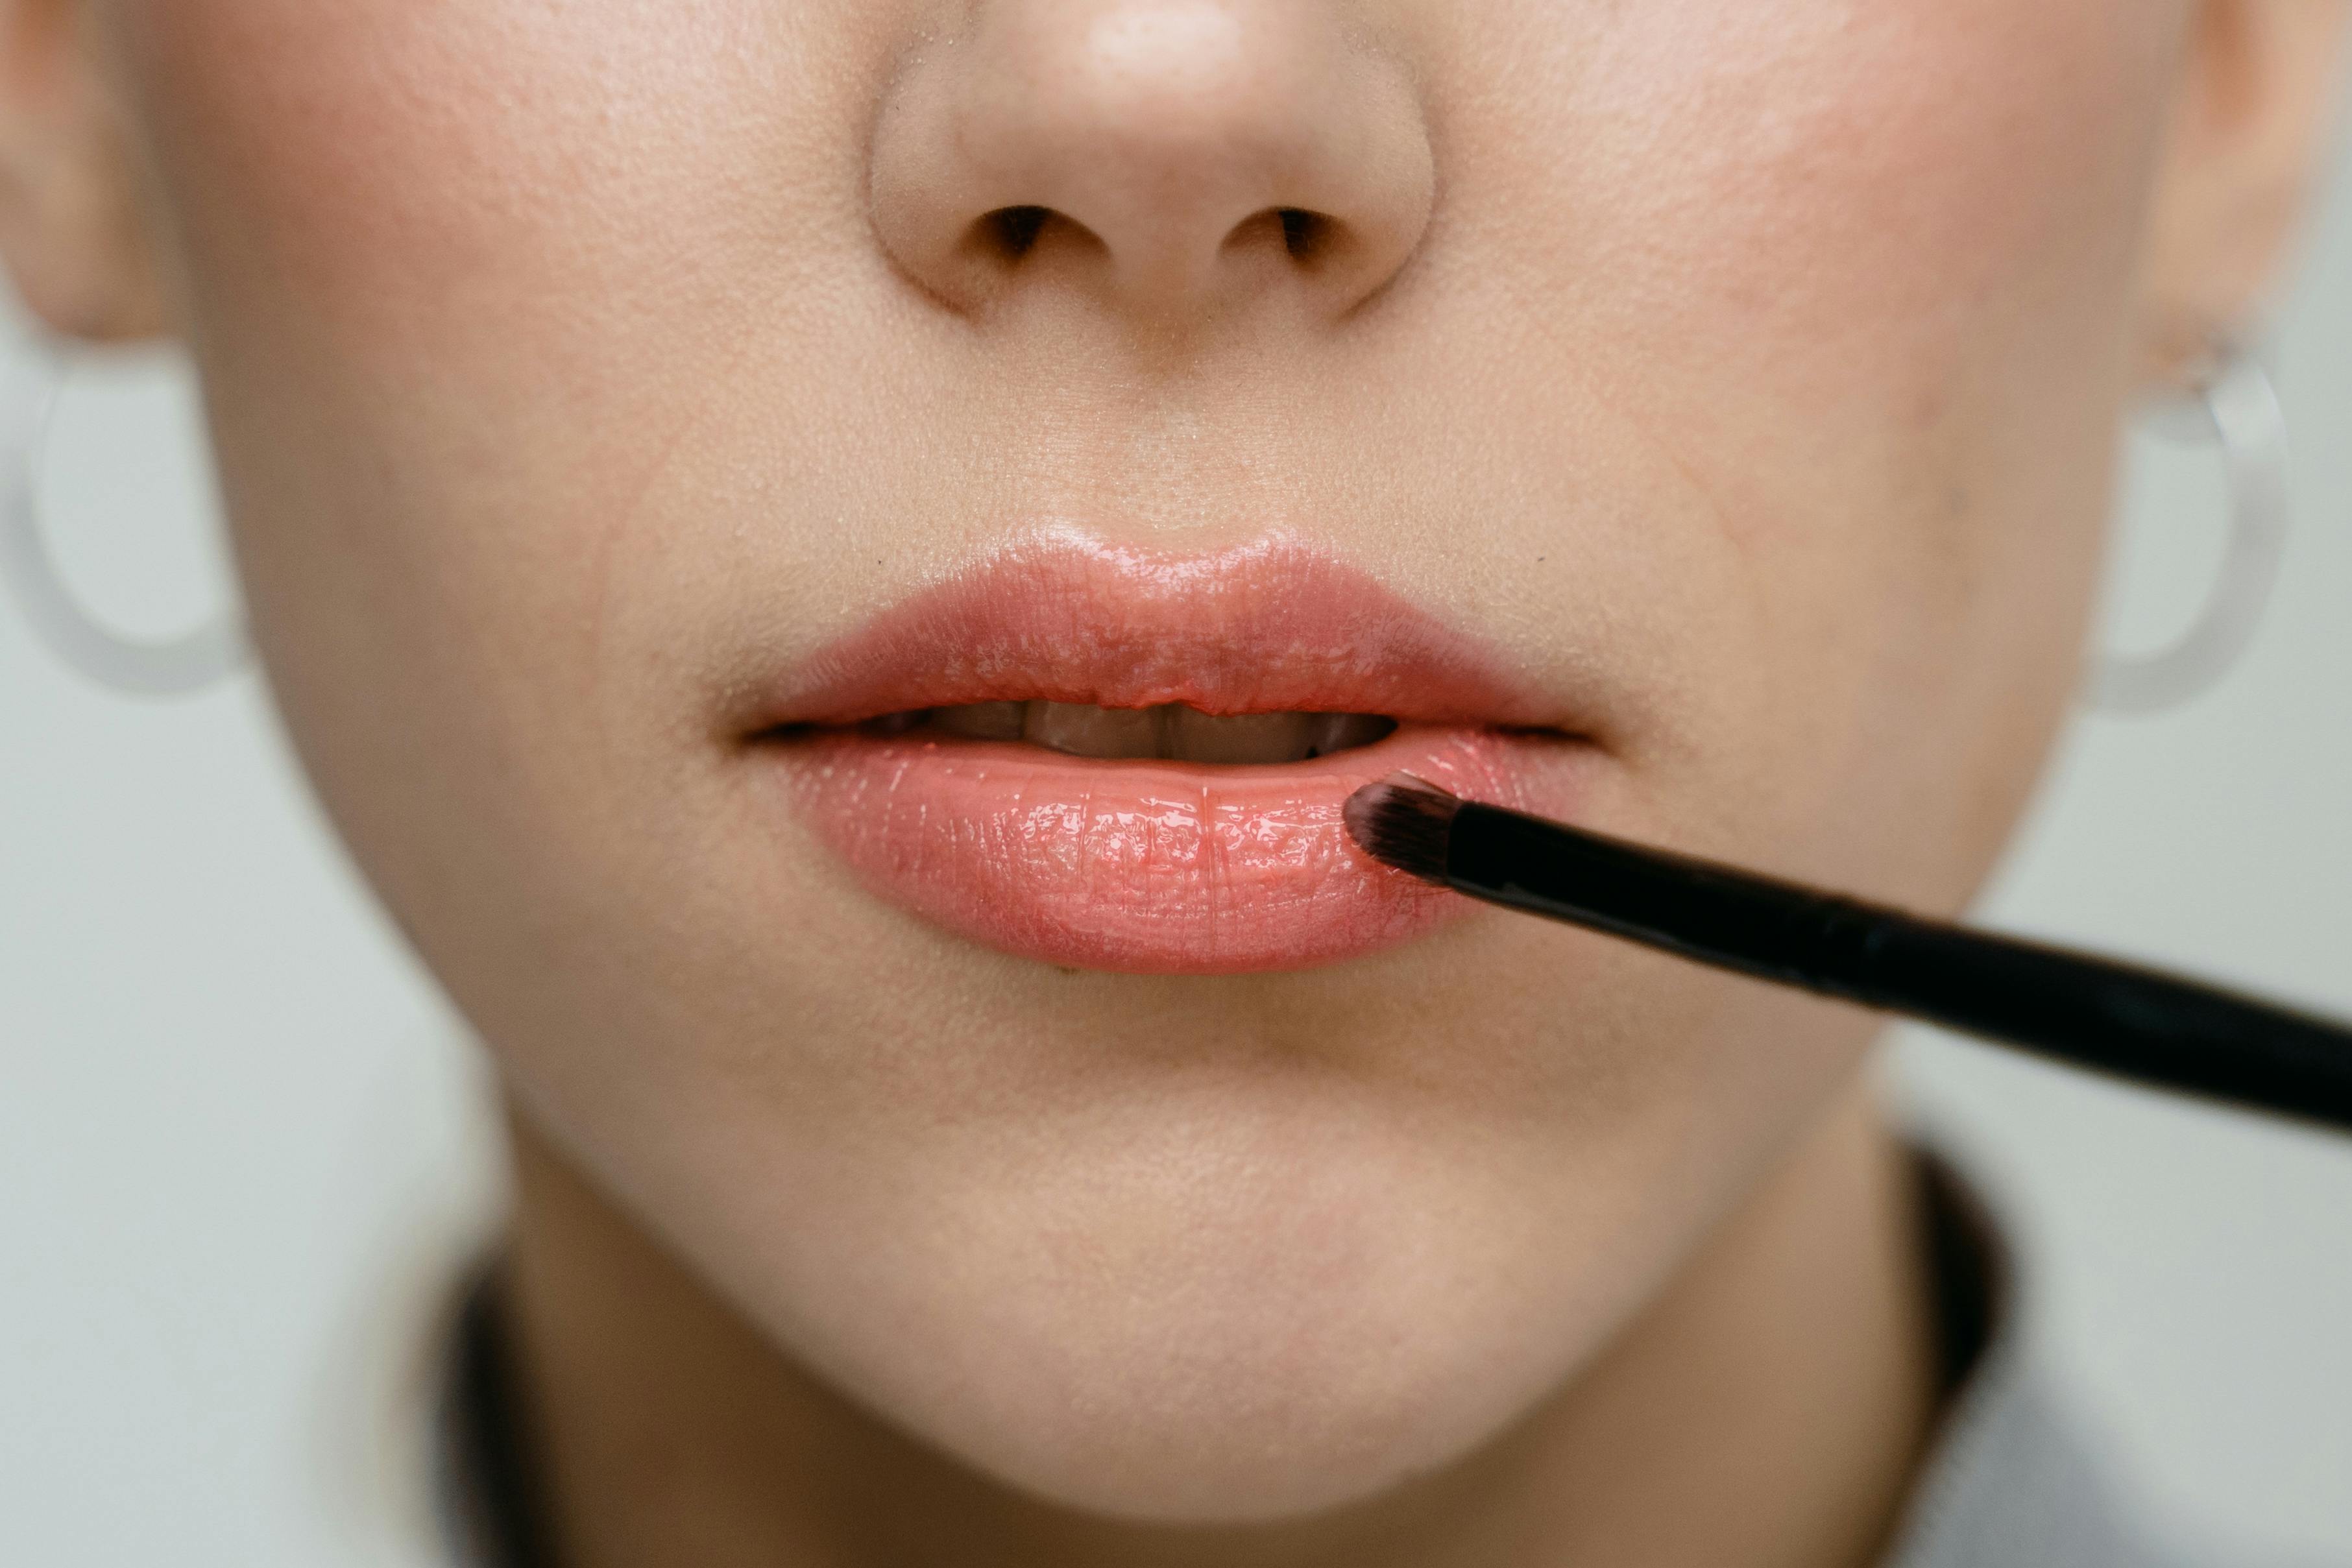
Step 6: Perfect Your Lips
Lip liner helps outline your lips and makes lipstick last longer. And add lipstick or gloss in a color that flatters your whole appearance.
Step 7: Body Makeup (If You Want)
Mix foundation with moisturizer to smooth out any visible skin on your chest, back or shoulders. Pop highlight on the collarbones for an all over glow.
Step 8: Lock Everything In
Complete the look with setting spray to make sure your make-up stays in place through the ceremony, reception and beyond. This also helps to melt powders into the skin for a more natural finish.
Doing your own makeup for your wedding is a great option if you are a beauty enthusiast and enjoy dabbling in palettes and products—or if you’re just a little makeup-obsessed. The key is to plan ahead, leave yourself time to practice — and not worry about perfection. “The idea,” Pike says, “is to appear as the best version of yourself.”