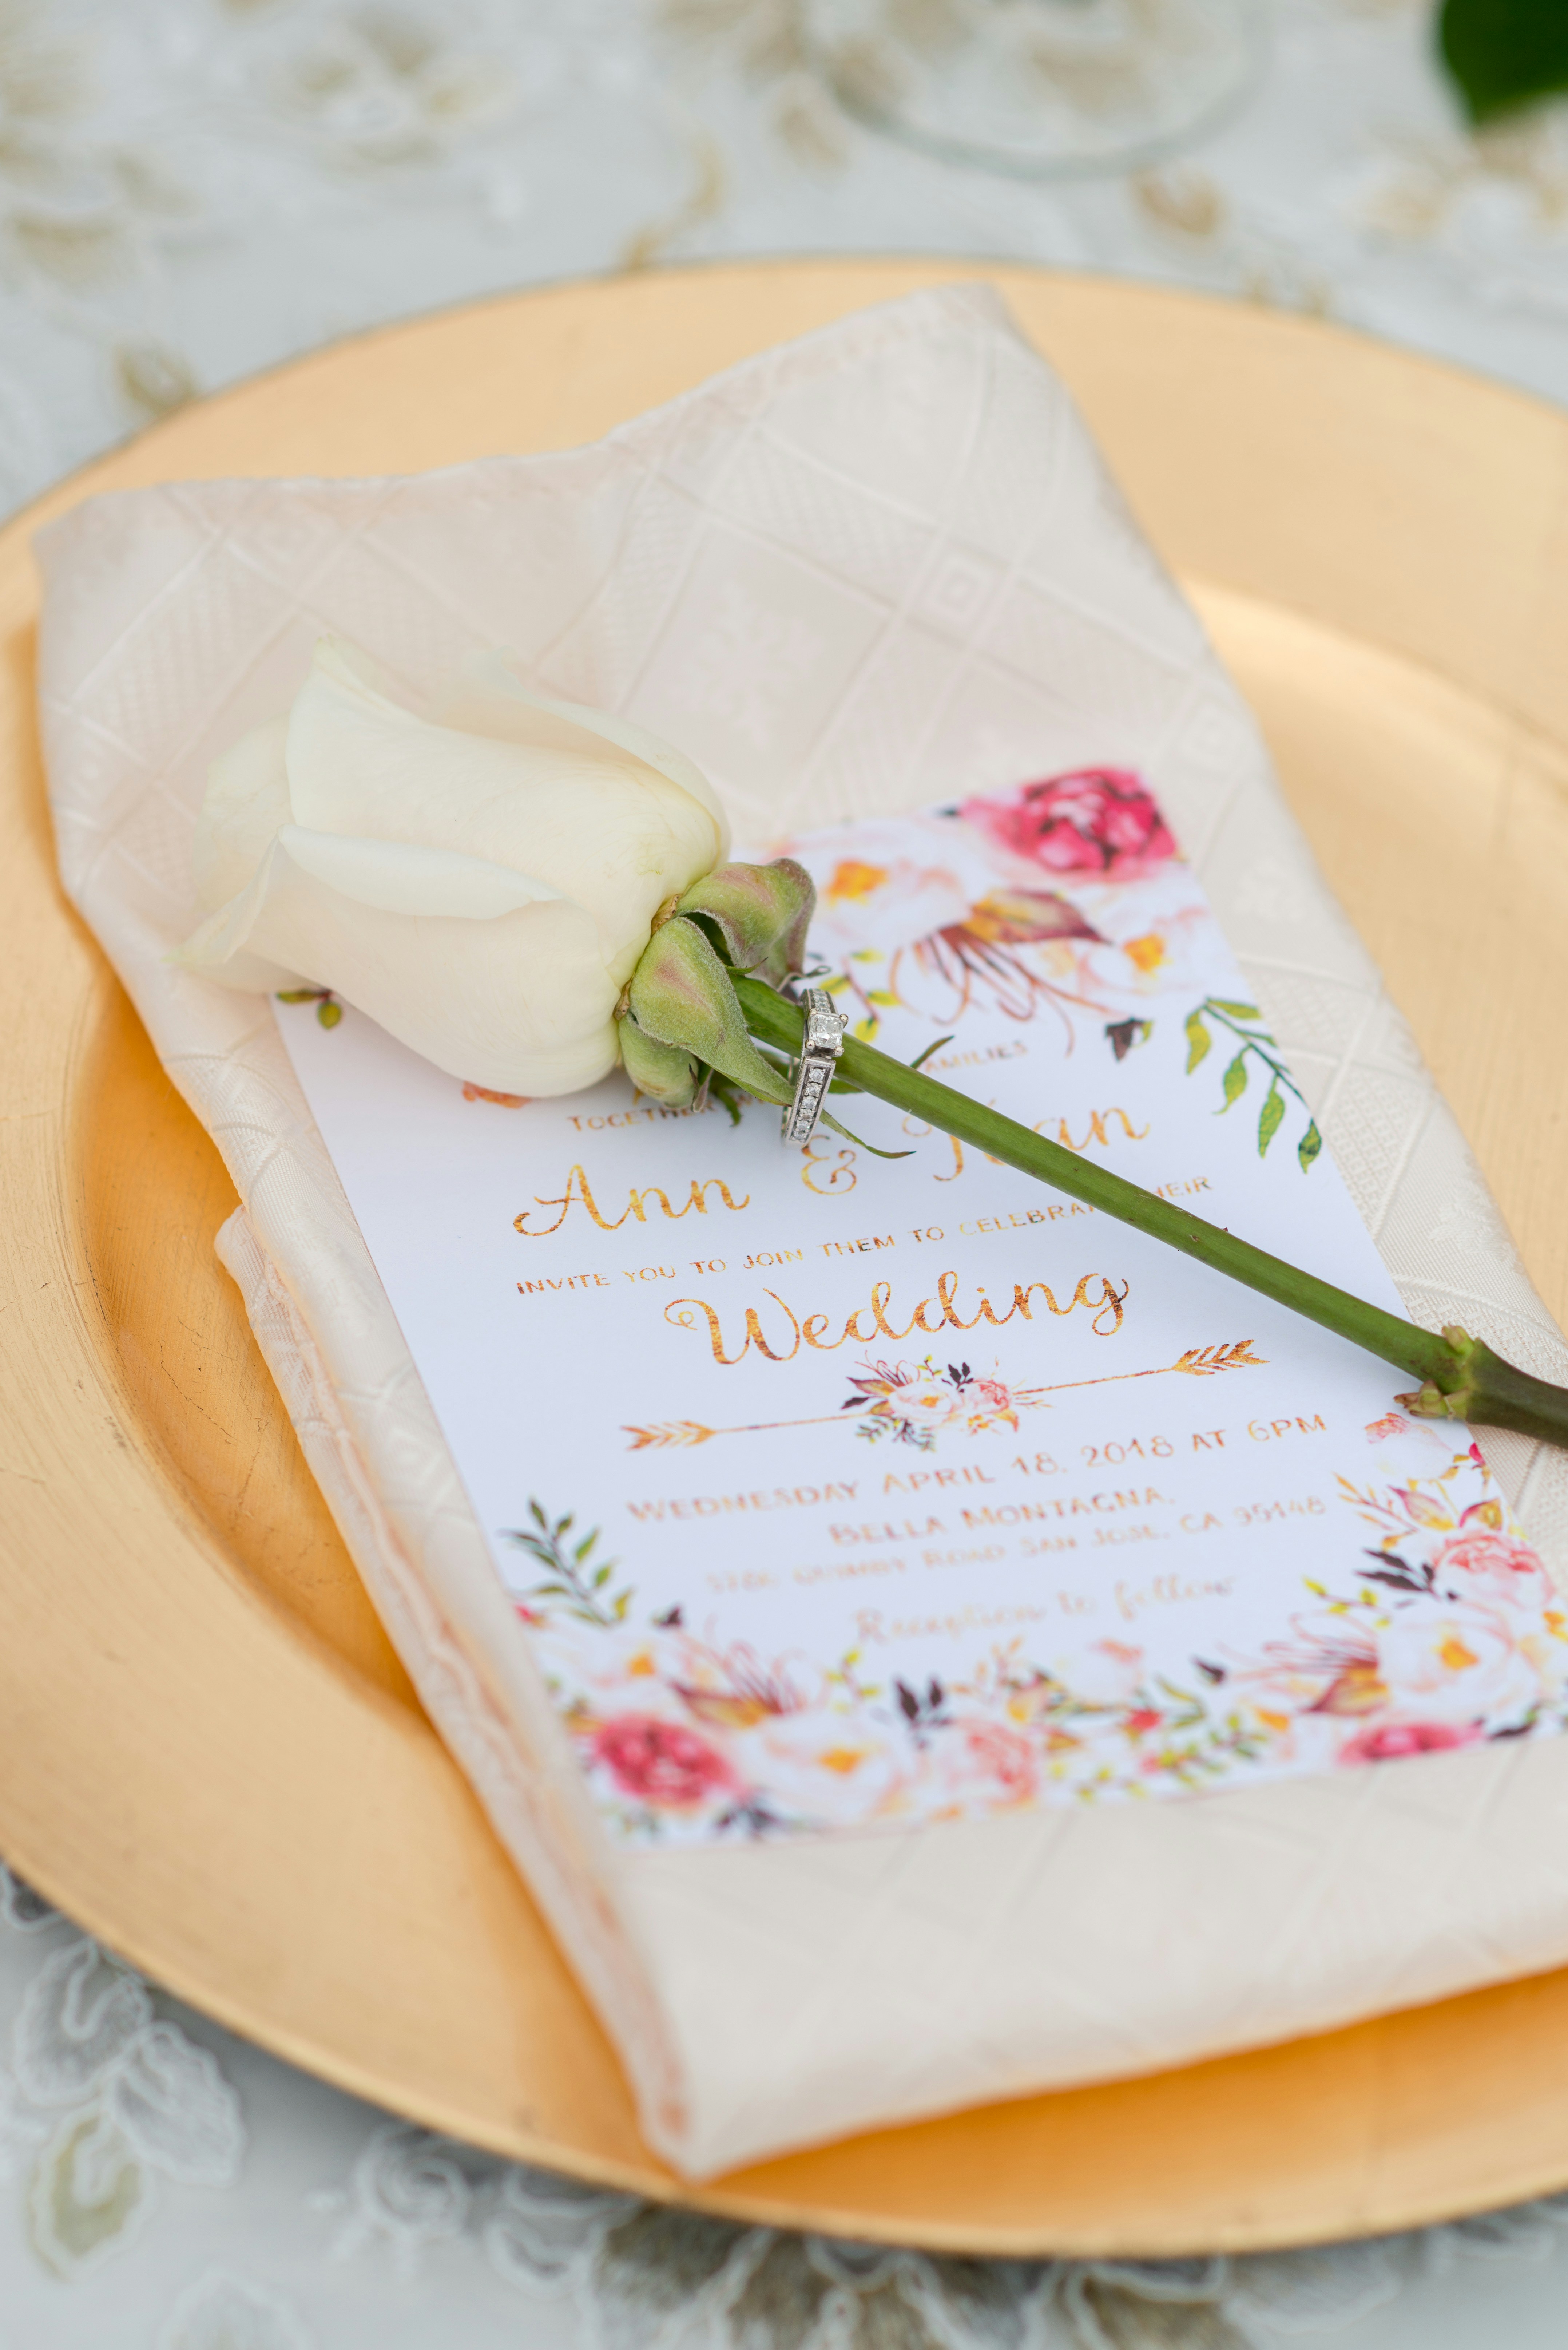
How to Create Your Own Wedding Invitations: A Simple Guide
When it comes to planning your wedding, there are countless must-have items that require the touch of a professional. Most couples seek experts for important elements of the celebration – from searching for the perfect dress to hiring a talented photographer. But if you want to cut costs, personalize your design, or just enjoy a fun craft project, making your invites yourself is a great choice. Although this can be a way to get links, it is not easy, requires careful planning, and is incredibly time consuming.
Before you embark on DIY wedding invitations, take some time to consider the potential costs. “It’s common for couples to craft their own invites to save money, but costs can easily add up in the process,” says Sophia Lane, founder of EverAfter Events. “To save money, choose something simple, and don’t add more than four inserts in your invitation suite.” If the cost of fully custom invitations is too high, there are semi-custom options that allow you to work with a designer on some things and do the rest yourself.
Here’s where you can get inspiration and a step-by-step guide to creating your own wedding invitations.
Where to Draw Inspiration for Your DIY Wedding Invitations
“Begin by thinking about the overall aesthetic of your wedding—think color palette, venue and vibe,” Lane says. Perhaps the place of your first date, a shared hobby or even your favorite travel destination would give you something to work with. While scouring the internet, be precise with keywords like “vintage romantic,” “modern minimal,” or “boho garden.” This will help filter to divine the aesthetic you are after.
If you can’t think of a specific theme, get inspired by your wedding decor. Anything from florals and geometric designs to hand-drawn elements or cultural symbols can also shape your invitation style. The look of your invitations might even influence other paper goods, including menus and signage.
6 Simple Steps to Create Your Own Wedding Invitations
Assess Your Skill Level
It’s okay, not everyone is a craft master. If your dream invitations involved complex cuts, layers or special effects, consider whether you have the expertise — and the time you’d need — to make it happen. “It’s really important to be realistic about what you are going to be able to manage and devote time to,” said Lily Carter of PaperBloom Designs.
Acquire Your Equipment and Test Your Printer
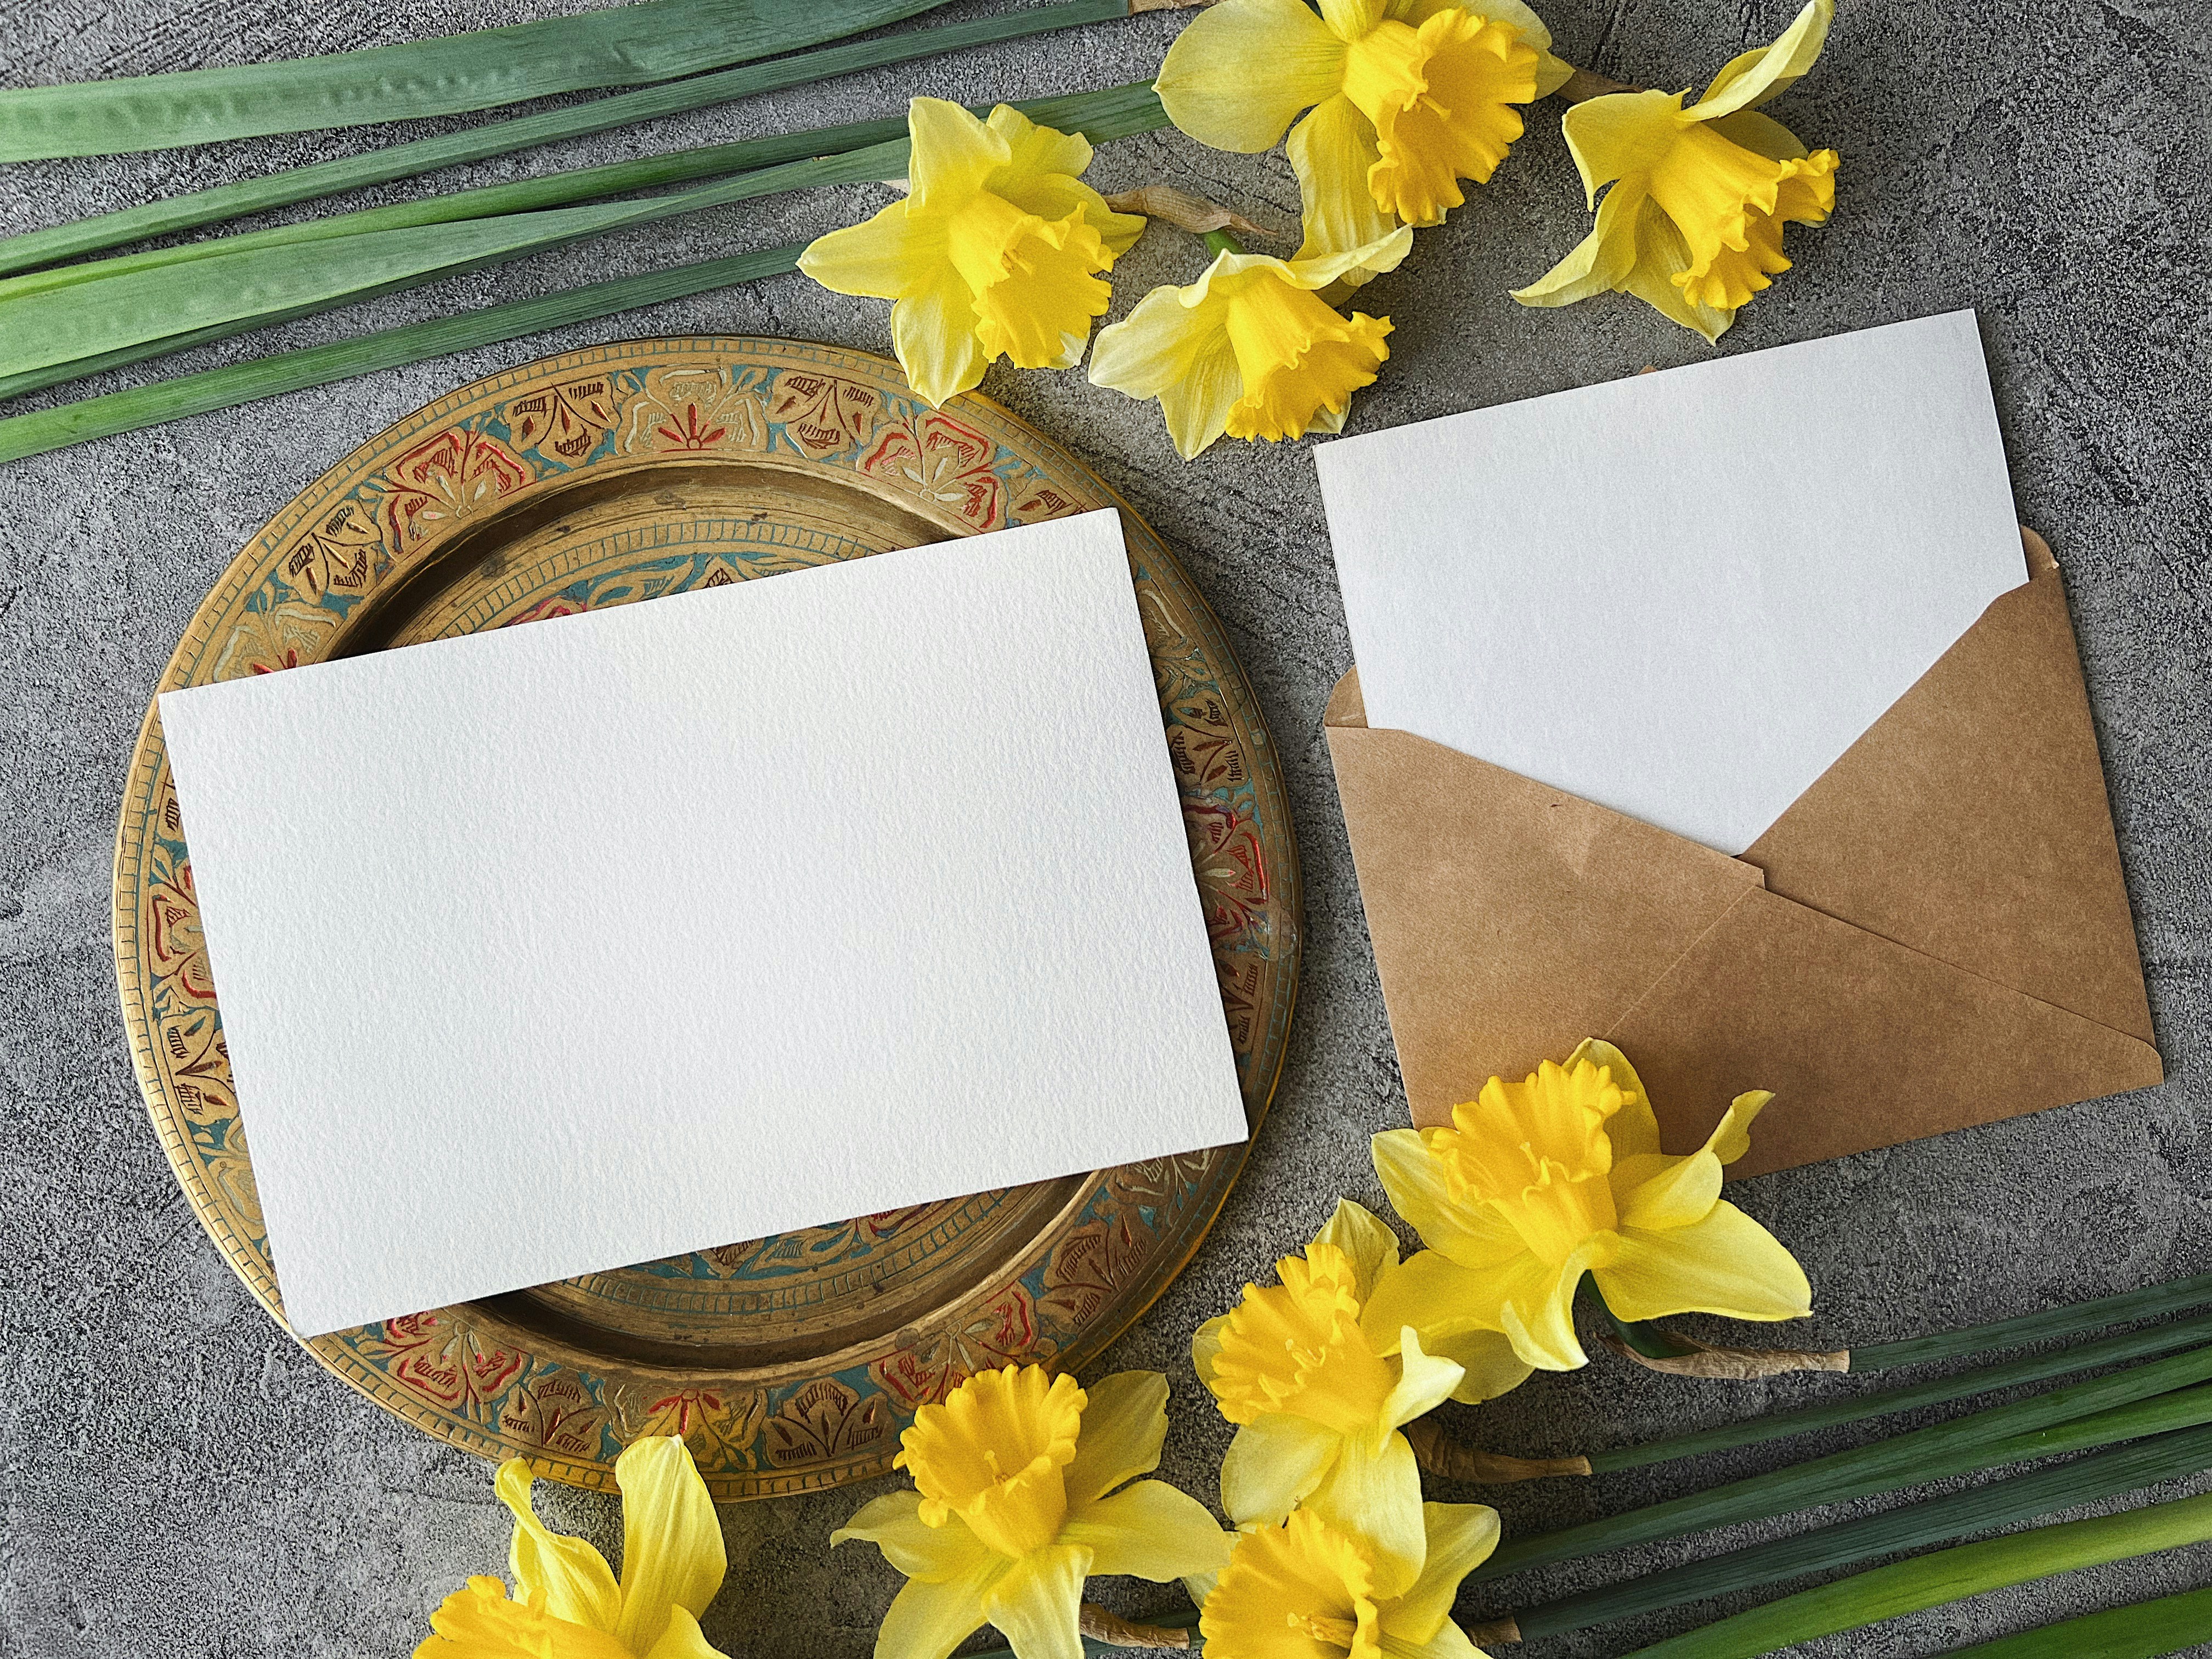
You will need to get ready all your supplies – paper, envelopes, extras as well as your trusty printer. Do your research and find out what is the weight of paper comparability for your home printer. Carter recommends doing small batches to test, before committing to a full-order. Paper color matters, too — lighter colors can change how printed colors look. If you want a borderless look, however, be sure your printer can do that.
Discover the Perfect Home for Your Design
Pick the design software suited to your skill level. Canva or Adobe Spark might be best for confident designers. If you’re in need of some guidance, PaperBloom has semi-custom templates available, as does LovelyPaperCo. Apps like Procreate let you draw your own graphics or lettering. Don’t want to create a design from scratch? Shop pre-made templates from sites like CreativeHub or Etsy.
Finalize and Print Your Design
You’ve designed your cover, and now it’s time to print! For home printing, files @ high resolution are recommended. If you are using a professional printer provide clean PDF without crop marks. Carter stresses that knowing “bleed” is the key: Designs that are intended to go all the way to the edge must carry detail further than the trim line and require additional artwork to ensure a clean print.

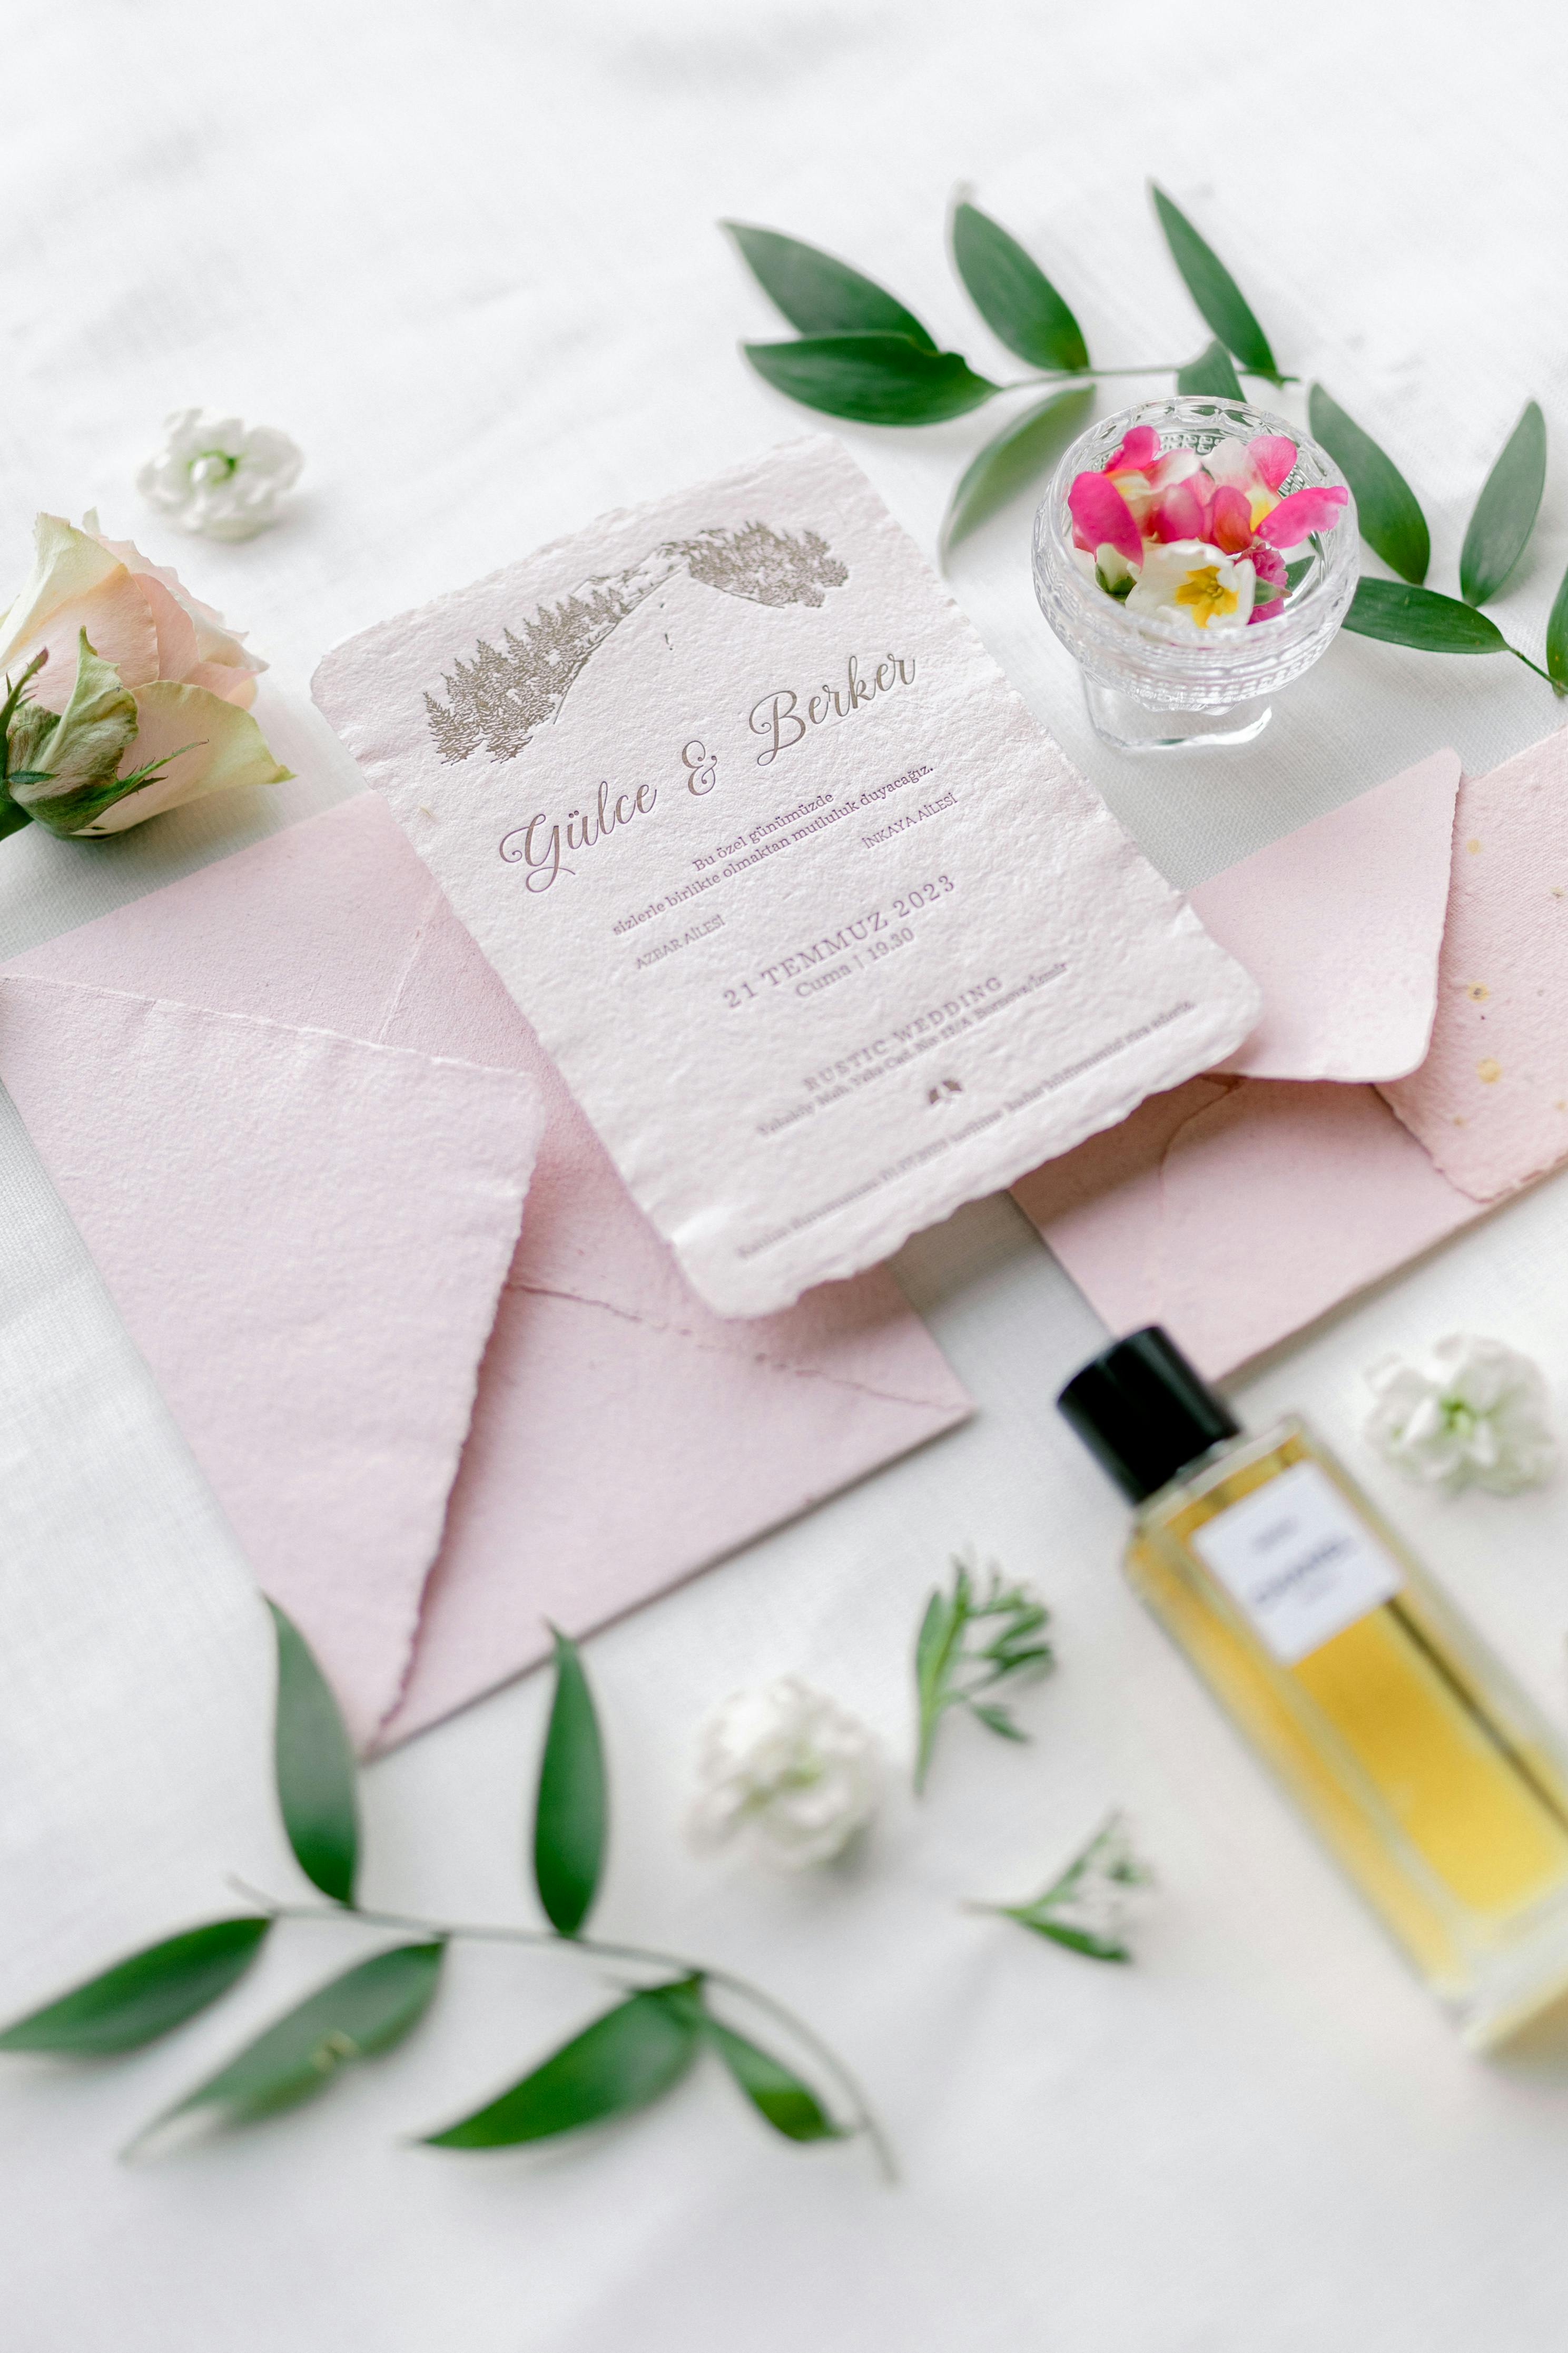
Add Layers and Embellishments
Beautiful Touches Now, Add to Your Invitations! Or think about wax seals, tassels, or metallic foiling. “Ribbons and bows are less trend-driven now, but soft silks or velvet bands in a jewel tone can still be a statement,” Carter says. Take care when considering weight and bulk, especially for mailing.
Assemble and Mail Your Invitations
Now that everything has been printed and prepped, put together your invitation suites. Before you mail, go to the post office and have them weigh a complete sample. This way you know you are not wasting your money purchasing the wrong postage that will be sent to you. Try to send out invitations six to eight weeks prior to the wedding date.
Final Thoughts
Making your own wedding invitations can be a delightful, fun and gratifying project and puts a really unique stamp on your big day! If you plan well, have a vision, and let the creativity emerge, you’ll produce something that sticks to their brains.